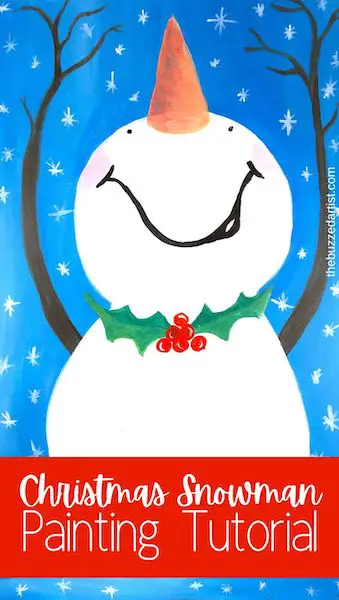
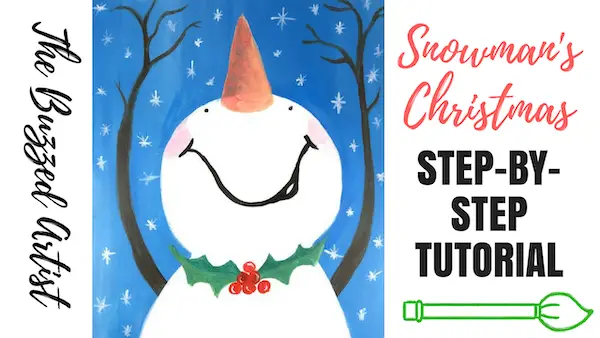
The beginner’s step-by-step guide to painting a whimsical snowman using acrylic paint.
What’s better than freshly fallen snow? A snowman enjoying the beautiful winter wonderland, of course. This step by step snowman Christmas painting is the perfect way to show the wonder and whimsy during this magical time of year.
So let’s grab some supplies and get to it.
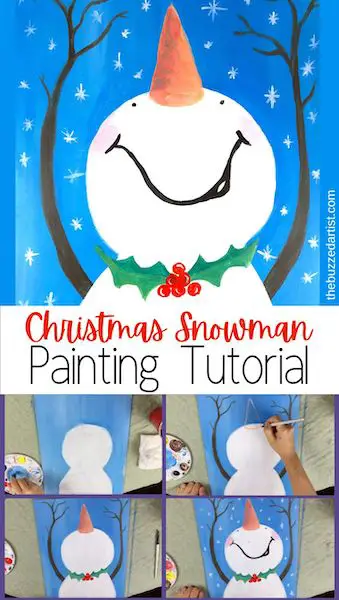
👉 Want to host a paint party with this tutorial? Here is exactly how you can set up a fun DIY paint party at home.
Disclaimer: some links used in this post are affiliate links, which means I’ll earn a small commission if you purchase using my links at no extra cost to you. I only recommend products I think will be helpful to you and bring you one step closer to creating beautiful acrylic masterpieces!
Christmas Snowman Painting Supplies
- 11×14 canvas or canvas paper
- Palette or palette paper
- Cup of water
- Table cloth
- towel
Brushes:
Paints:
- Primary Blue Acrylic Paint
- Titanium White Acrylic Paint
- Primary Red Acrylic Paint
- Primary Yellow Acrylic Paint
- Mars Black
Easy Christmas Snowman Acrylic Painting Tutorial Steps
Follow these step-by-step instructions on how to paint your very own cute winter snowman looking up at the snowy sky.
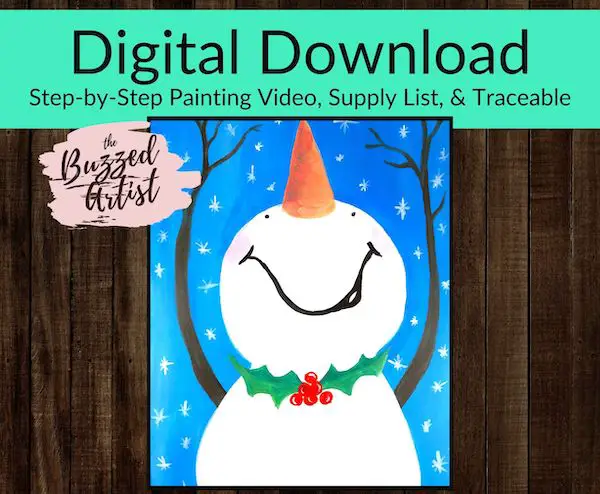
Want the Full Tutorial + Traceable stencil (with no ads)?
If you want to get the entire step-by-step painting tutorial (without ads), supply list and stencil, check out this painting class here.
Step 1: Paint in the Background
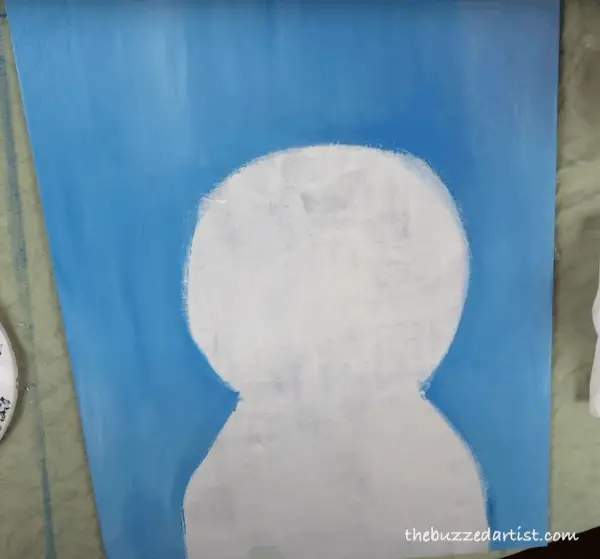
Step 2: Paint in the Arms
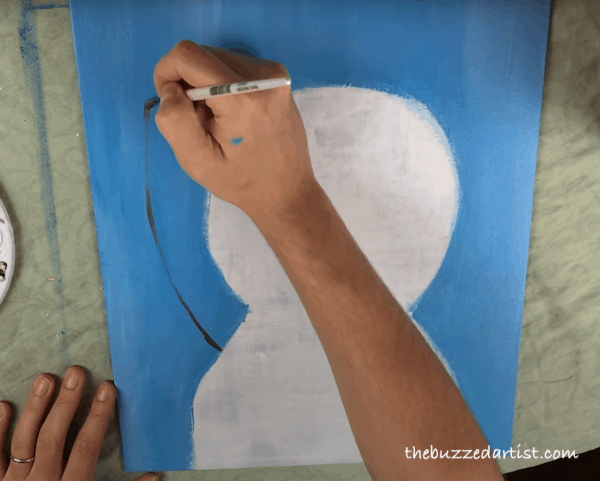
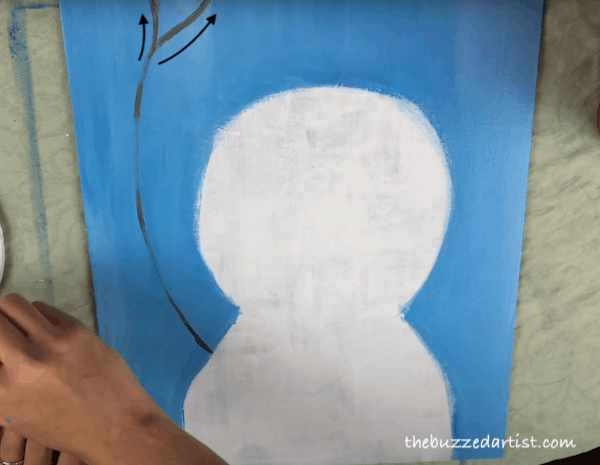
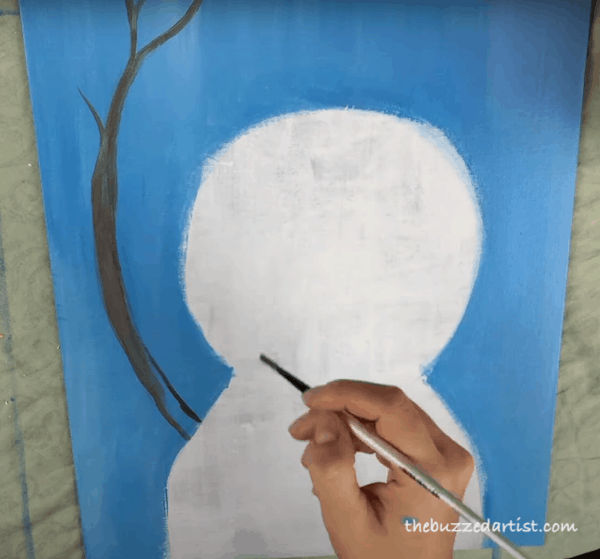
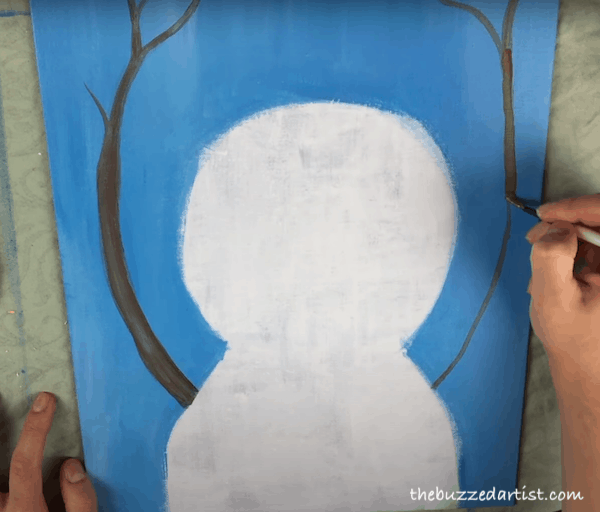
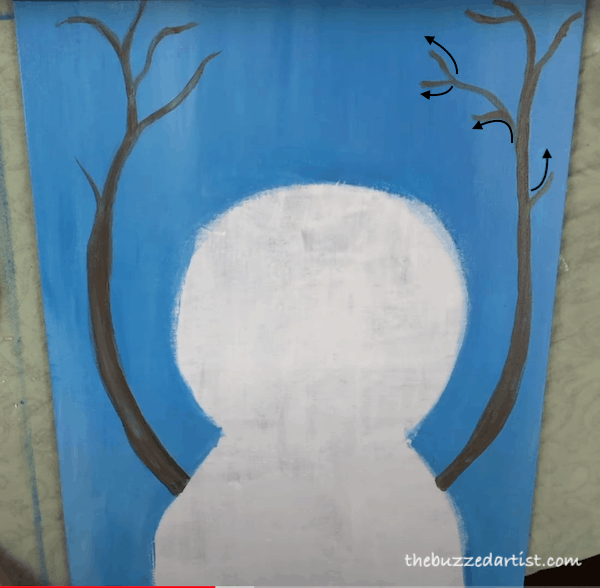
Step 3: Paint in the Snowman’s Body
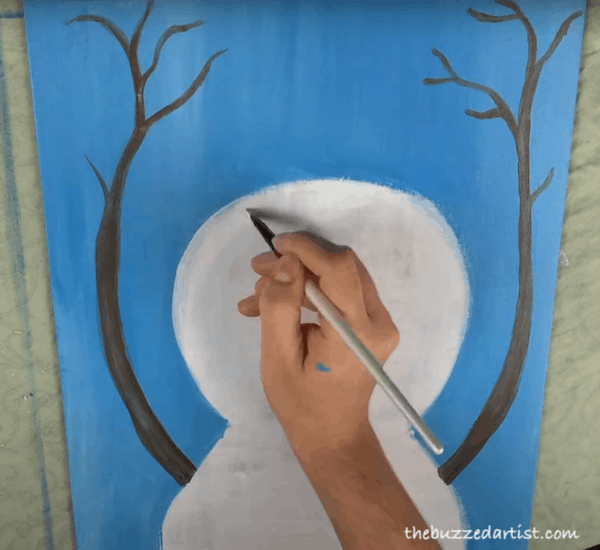
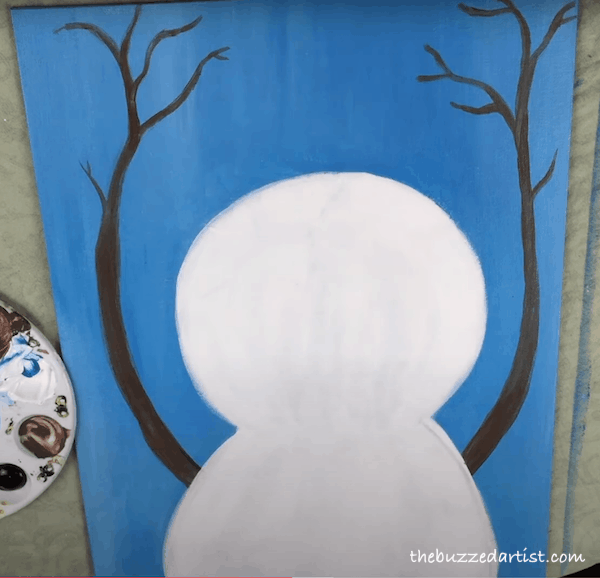
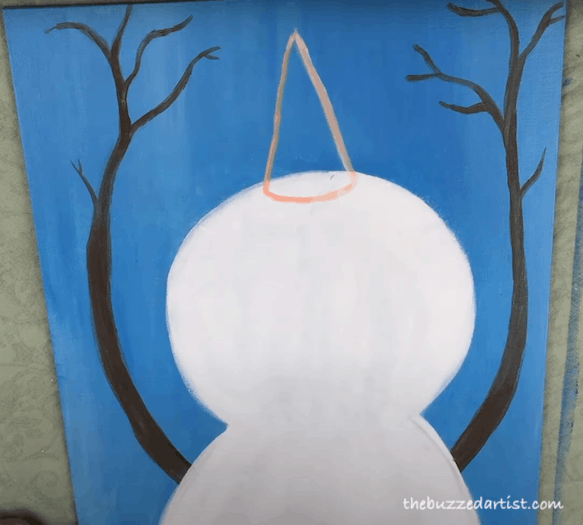
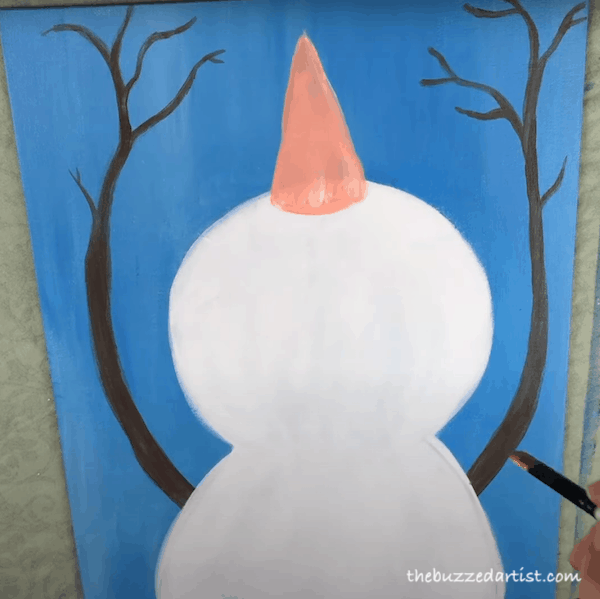
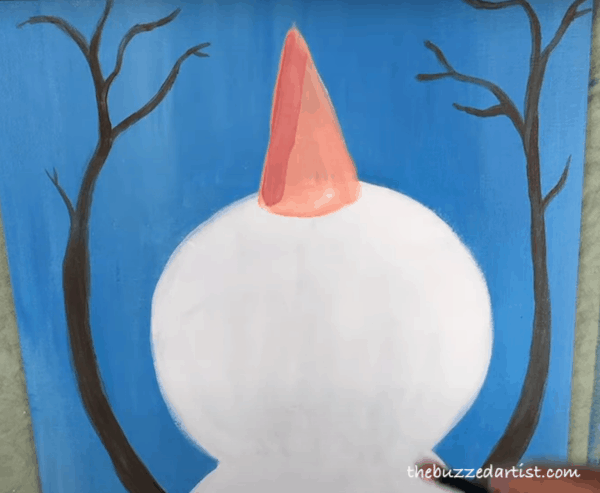
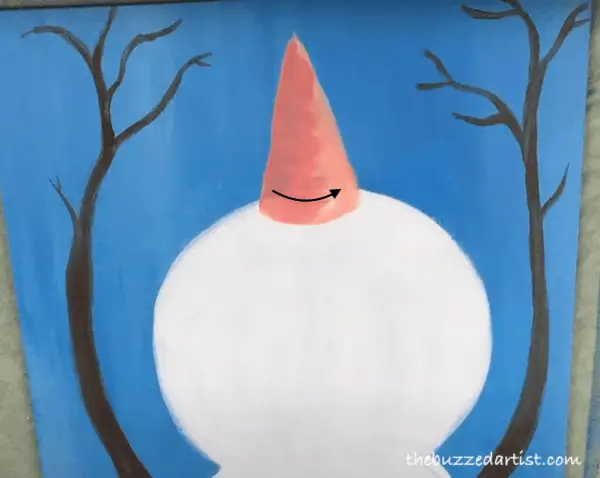
Step 4: Add the Carrot Nose
Step 5: Paint the Holly Leaf Tie
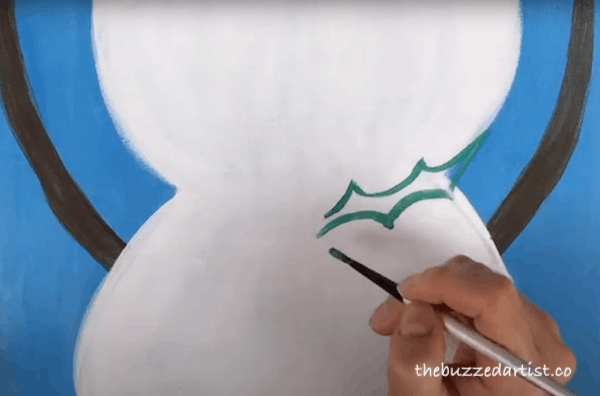
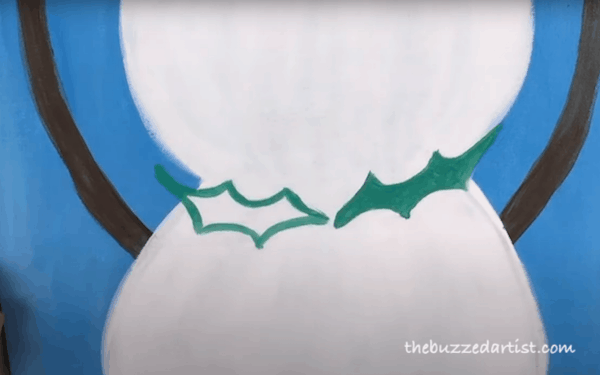
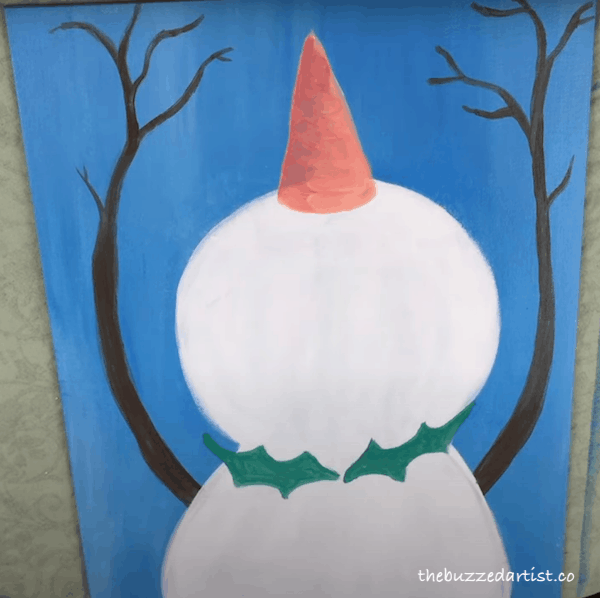

Step 6: Paint the Holly Leaf Highlight
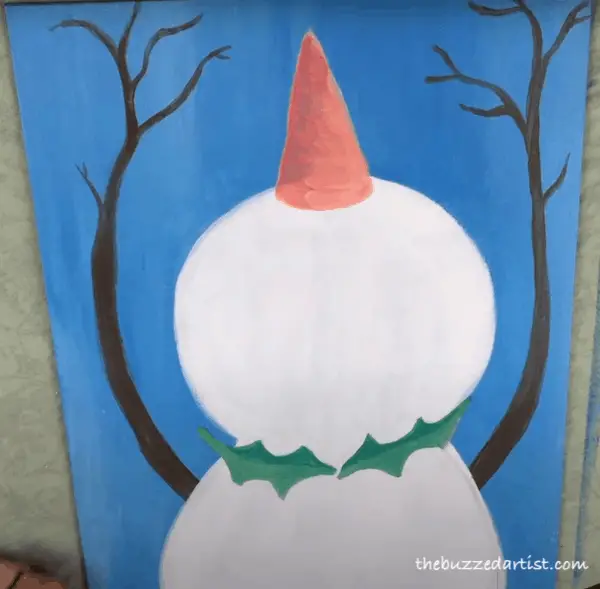
Step 7: Paint the Holly Berries
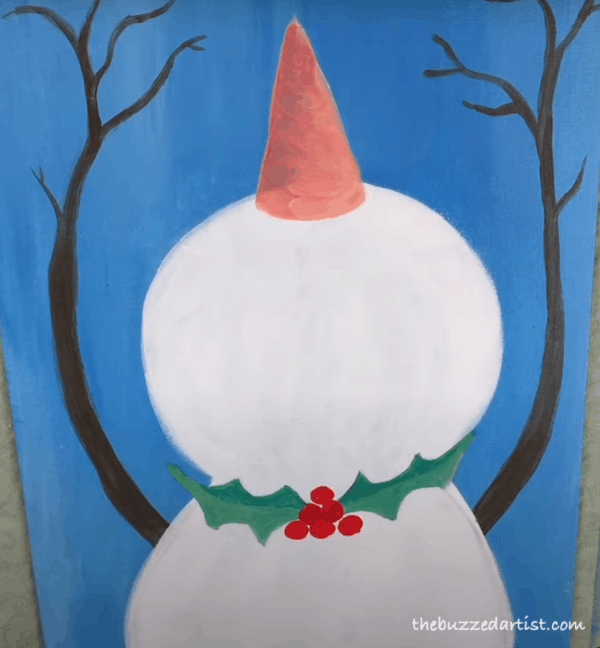
Step 7: Paint the Snowman Face
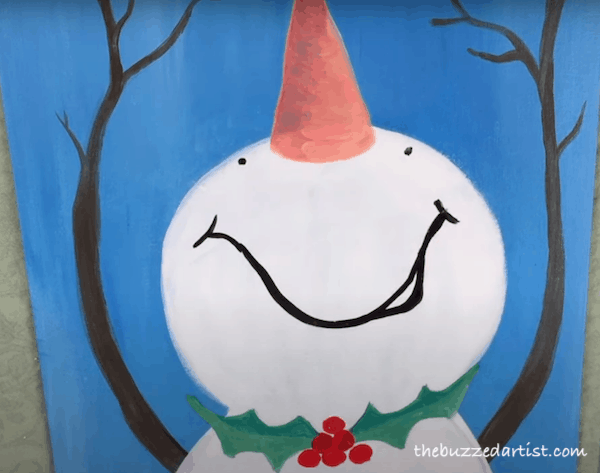
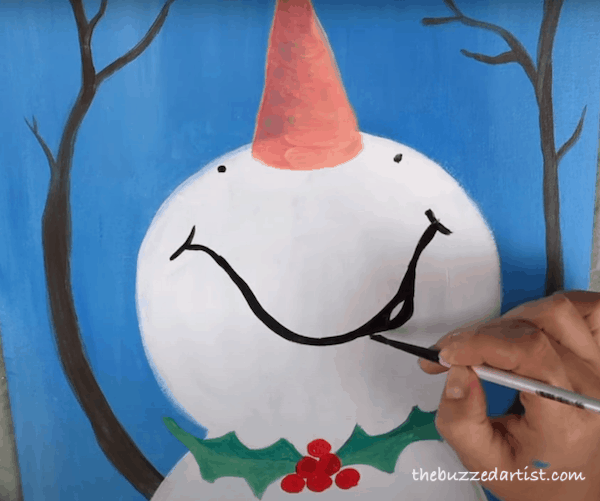
Step 8: Paint the Rosy Cheeks
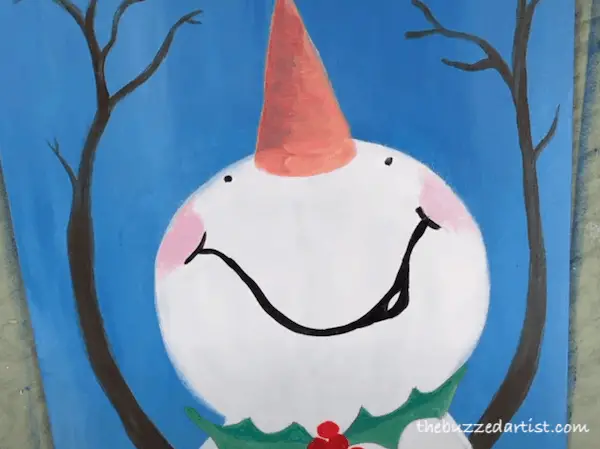
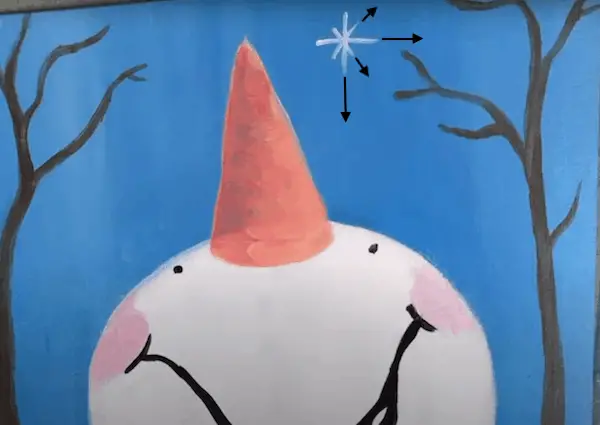
Step 9: Paint the Snow Flakes
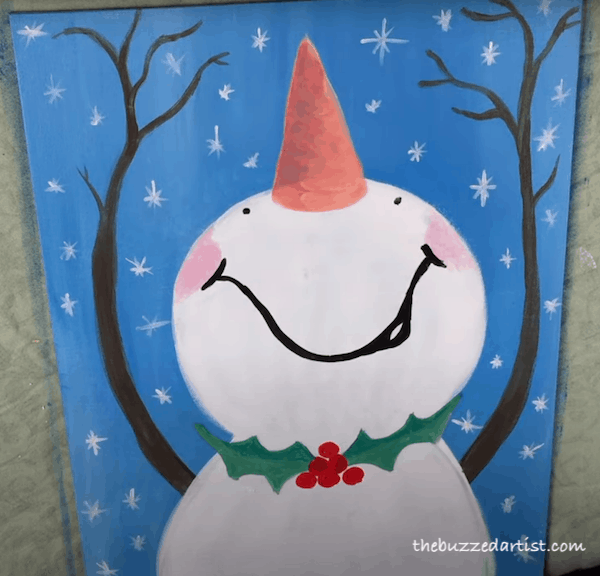
Step 10: Add Highlights to the Holly Berries
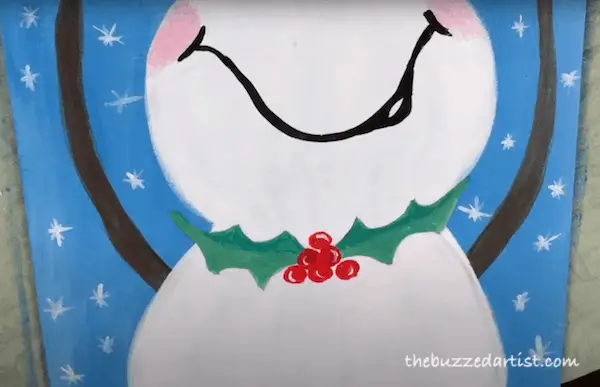
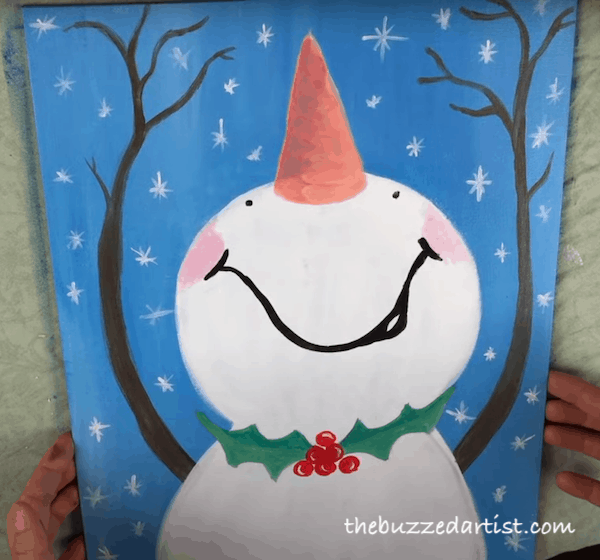
Step 11: Step Back and Admire your Work, Queen

Want the Full Tutorial + Traceable stencil (with no ads)?
If you want to get the entire step-by-step painting tutorial (without ads), supply list and stencil, check out this painting class here.
Christmas Snowman Painting Tutorial
