Create gorgeous statement art with upcycled newspaper and some acrylics
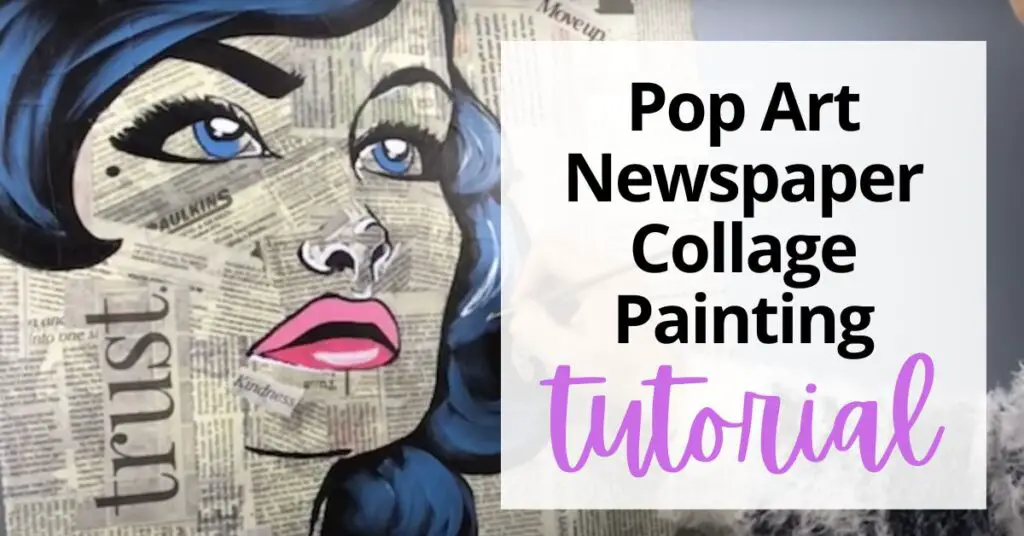
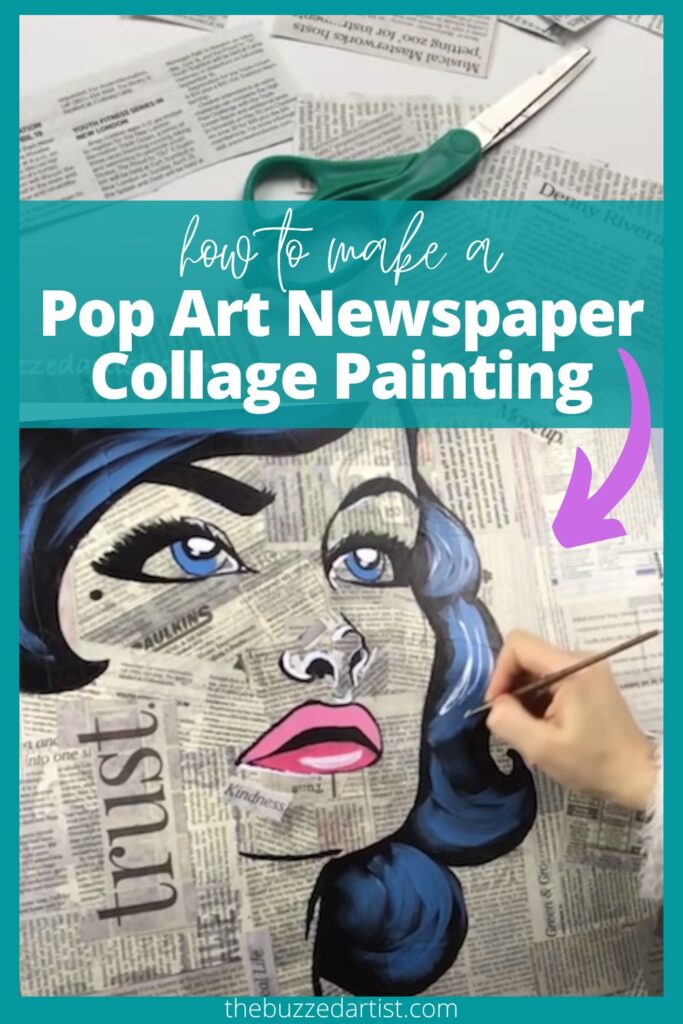
Got lots of newspaper piling up on a corner? In this post, you’ll learn how to create this eye-catching collage pop art piece using old newspaper, some Elmer’s glue, and a touch of acrylic paint. This is a great way to recycle and turn boring white canvas into something you would be proud to hang up (or even sell!).
Pin it for later! ⤵
Pop Art Collage Painting Supplies
- Newspaper
- Stretched canvas (I used 18″x24″ size)
- Elmer’s glue (or school glue)
- Plate
- Scissors
- Black Sharpie Marker
- Pencil and sketchbook
- Acrylic paint (I used black, ultramarine blue, quinacridone red, and titanium white)
- Flat wash brush (I used this 3/4″ brush)
- Detail Round brush (I went with a #0 detail round)
- Spray varnish (optional)
Watch how I Made This Pop Art Collage Painting
Watch this video or continue reading the rest of this post to see how I made this pop art collage painting.
Disclaimer: some links used in this post are affiliate links, which means I’ll earn a small commission if you purchase using my links at no extra cost to you. I only recommend products I think will be helpful to you and bring you one step closer to creating beautiful acrylic masterpieces!
Pop Art Newspaper Collage Tutorial Steps
Step 1: Newspaper Ripping and Clipping
When it comes to art, the aesthetic you’re going for is totally up to you. For this particular project, I decided to cut up my newspaper into 4″-6″ strips.
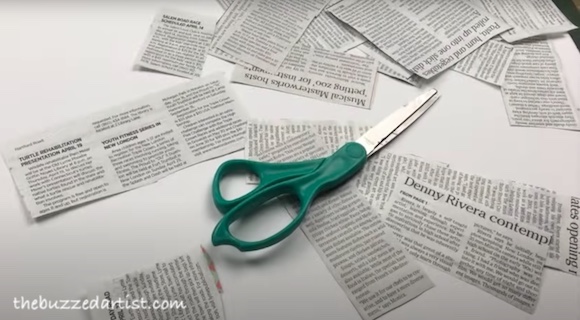
If you want to rip your strips or create various sizes of clipping strips, that is totally fine. Go crazy and get creative; there really isn’t a right or wrong way to do this.
In addition, I cut out several large print words that caught my eye like “trust” and “riveting” to both cover and give a statement to my painting.
Step 2: Glue Down the Strips
Next it’s time to glue those strips to your canvas to create a busy yet interesting backdrop for your painting.
In a plate, mix 1 part glue to 1 part water to make your perfect collage glue paste. Then, take each newspaper strip, dip it into your paste on both sides, squeegee out the excess with your fingers and place it onto your canvas (I ended up choosing 18″x24″ canvas).
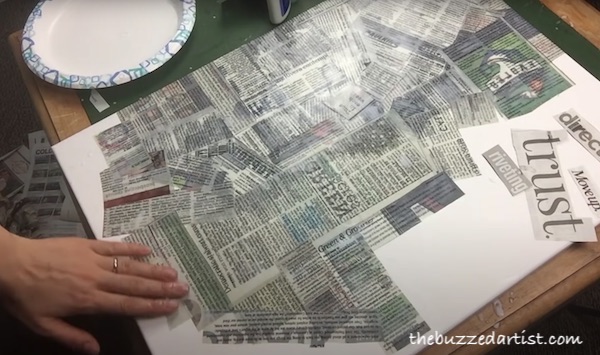
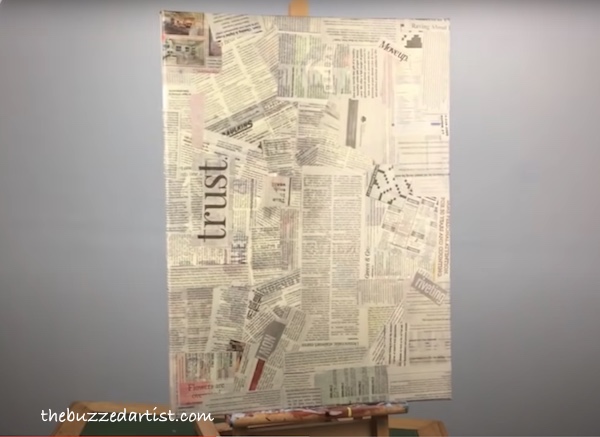
Have fun with how you lay your strips down – experiment with placing it horizontally, vertically and diagonally. Plus, you can use any word cut outs to place them in strategic spots of your choosing. I decided to do 2 layers of strips with 4 cut out words placed throughout.
Be sure to overlap some newspaper strips over the sides of the canvas and to the back; this will help with any unwanted peeling and random paper fibers sticking out.
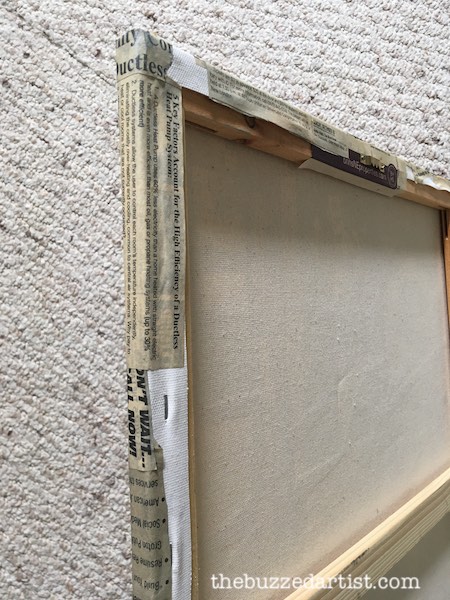
Once you’re satisfied and glued to your heart’s content, let your canvas dry for 1-3 hours; you can tell it’s dry by running your hand over the surface. You should get a nice, smooth surface that is ready for painting.
Step 3: Draw out the Profile
With your dried newspaper canvas at the ready, plan out your facial profile you want to add to your canvas. I chose a profile picture I really liked, did a quick sketch on my mixed media pad, cut out the features and played with the placement until I found something that felt good for me.
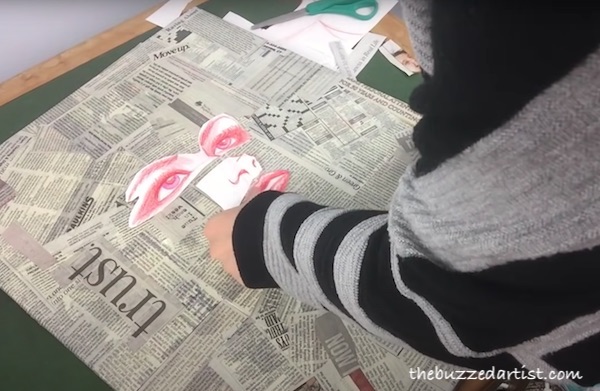
Then, with a pencil, proceed to draw in the features – either freehand or using my famous charcoal transfer method to save you much needed time.
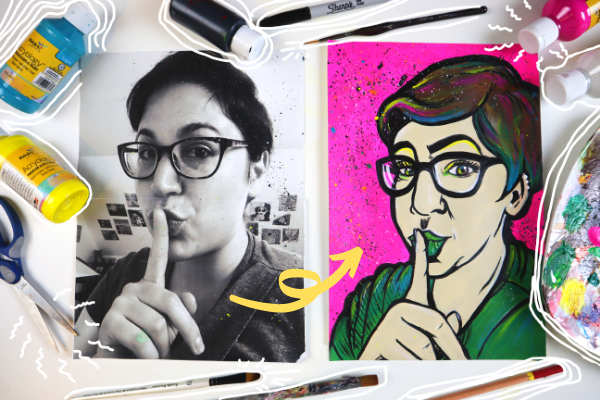
If you want to learn how to take any image and transform it into a work of gorgeously colorful pop art, my SkillShare class Pop Me Up is a great, hands-on learning experience!
Step 4: Add Color and Outlines
When you are feeling ready with your sketch on the canvas, grab your markers, acrylic paints, and brushes. Begin to outline your profile features with a marker (or acrylic black paint with a detail brush) and then add color with acrylic paint (this set being my favorite to start with).
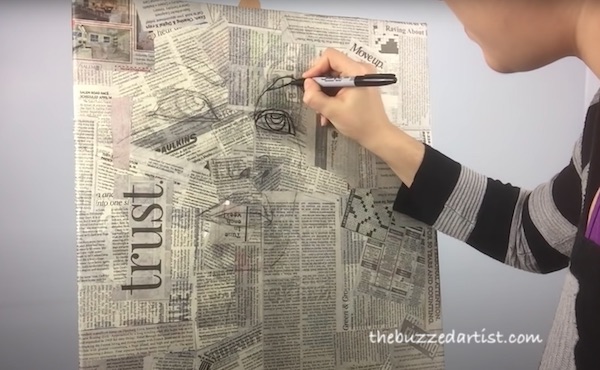
With this project, I used a Sharpie marker for the outlines, a 3/4″ flat wash brush for the hair and blue highlights and #0 detail round brush for the smaller features likes the eyes, eyebrows, lips, and highlights.
Take this opportunity to really experiment with different color highlights and combinations to add some cool tones to your collage painting.
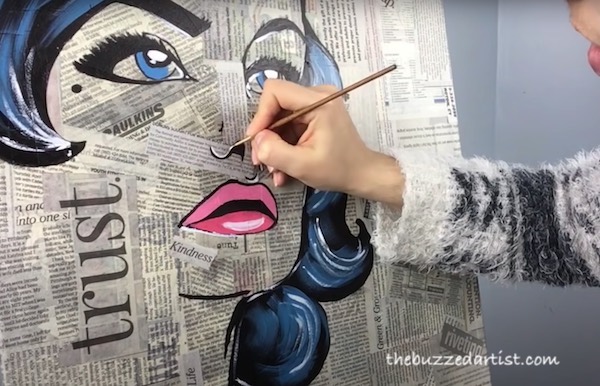
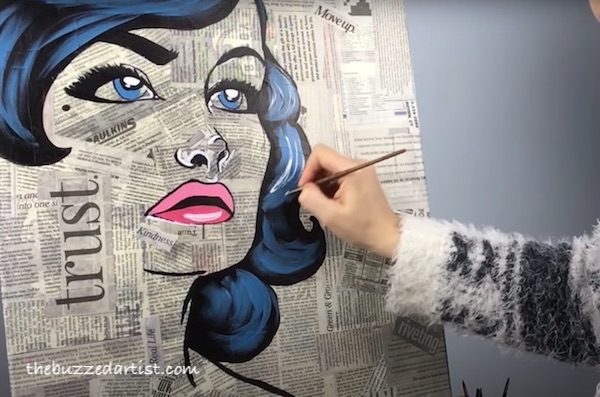
When you’re done painting (and the paint has dried), apply a varnish spray onto the surface to protect the newspaper and paint from sun damage and regular wear and tear. With a project like this, I opted for a matte finish but if you want to make your colors pop and glisten more, go with a gloss varnish.
Once your varnish is dry, hang up your pop art collage painting masterpiece for the world to see and admire. Way to go, fellow artist!
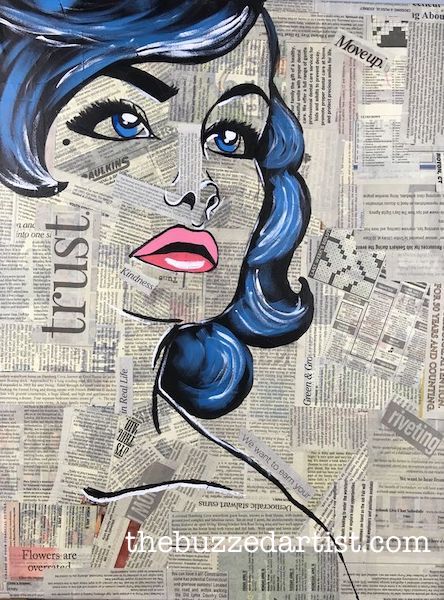
Final Thoughts on this Pop Art Newspaper Collage Painting
This was one of my most beloved acrylic painting projects- it’s wonderfully simple yet has so much dimension thanks to the newspaper print background and the minimalist color palette. Plus, you can reuse and recycle old newspaper and really bring them to life with a bit of glue and creativity.
